ARK: Survival Ascended mods can add structures, creatures, maps, interfaces and complete gameplay overhauls. They can also become part of the world save. That makes installing a content mod different from installing a cosmetic desktop theme: removing or reordering it later may affect objects that already exist. A responsible server owner therefore treats the mod list as configuration with backups, change records and a test plan.
ASA distributes mods through CurseForge rather than the Steam Workshop system used by older ASE guides. Start with the numeric project IDs supplied for ASA, keep the order intentional and change a small number at a time. The goal is not to build the longest list. It is to operate a set that players can download, the server can update and the world can reopen consistently.
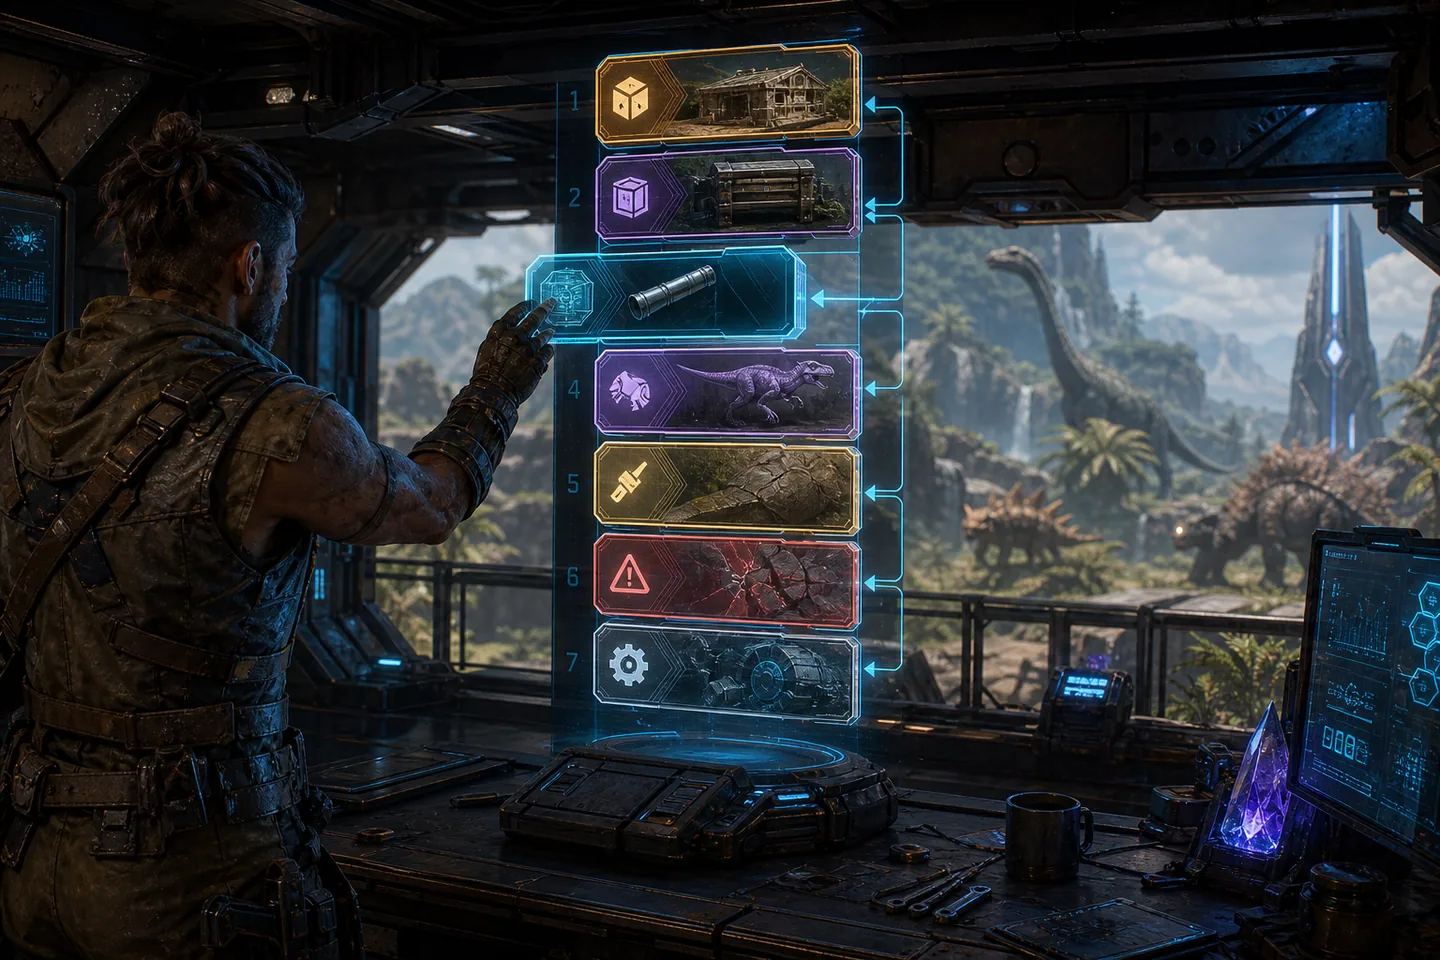
1. Select mods for the correct game and platforms
Confirm that each project is published for ARK: Survival Ascended and supports the platforms used by your group. A PC-only project can prevent a cross-platform community from delivering the experience it advertises. Read the author's current description, dependencies, configuration notes and update history. Popularity is useful evidence that a project is used, but it does not prove compatibility with every other mod or map in your list.
Separate essential world content from optional quality-of-life additions. A structure or creature overhaul creates a stronger dependency on the save than a small interface convenience. Record the project name, numeric ID, purpose, author page and current position. If two mods alter the same engrams, spawns or structures, look for a documented compatibility statement instead of assuming load order will solve every conflict.
- Prefer actively maintained ASA projects.
- Check cross-platform support before inviting console players.
- Avoid adding several large overhauls in the first test.
2. Back up before changing the list
Stop the server cleanly after saving the world and copy the active save, player and tribe data, configuration, cluster state and existing mod list. Give the backup a name that identifies the exact pre-mod state. A normal rotating backup may be overwritten before a conflict is discovered, so preserve this one until the new setup has survived real play and a restart.
Use a copy of the world for the first compatibility test whenever possible. Start it on different ports with a private session name. A fresh empty map is useful for checking whether mods download and the process starts, but it cannot reveal how an established save reacts to changed structures, creatures or engrams. Test both a clean world and a copied production world when the change is significant.
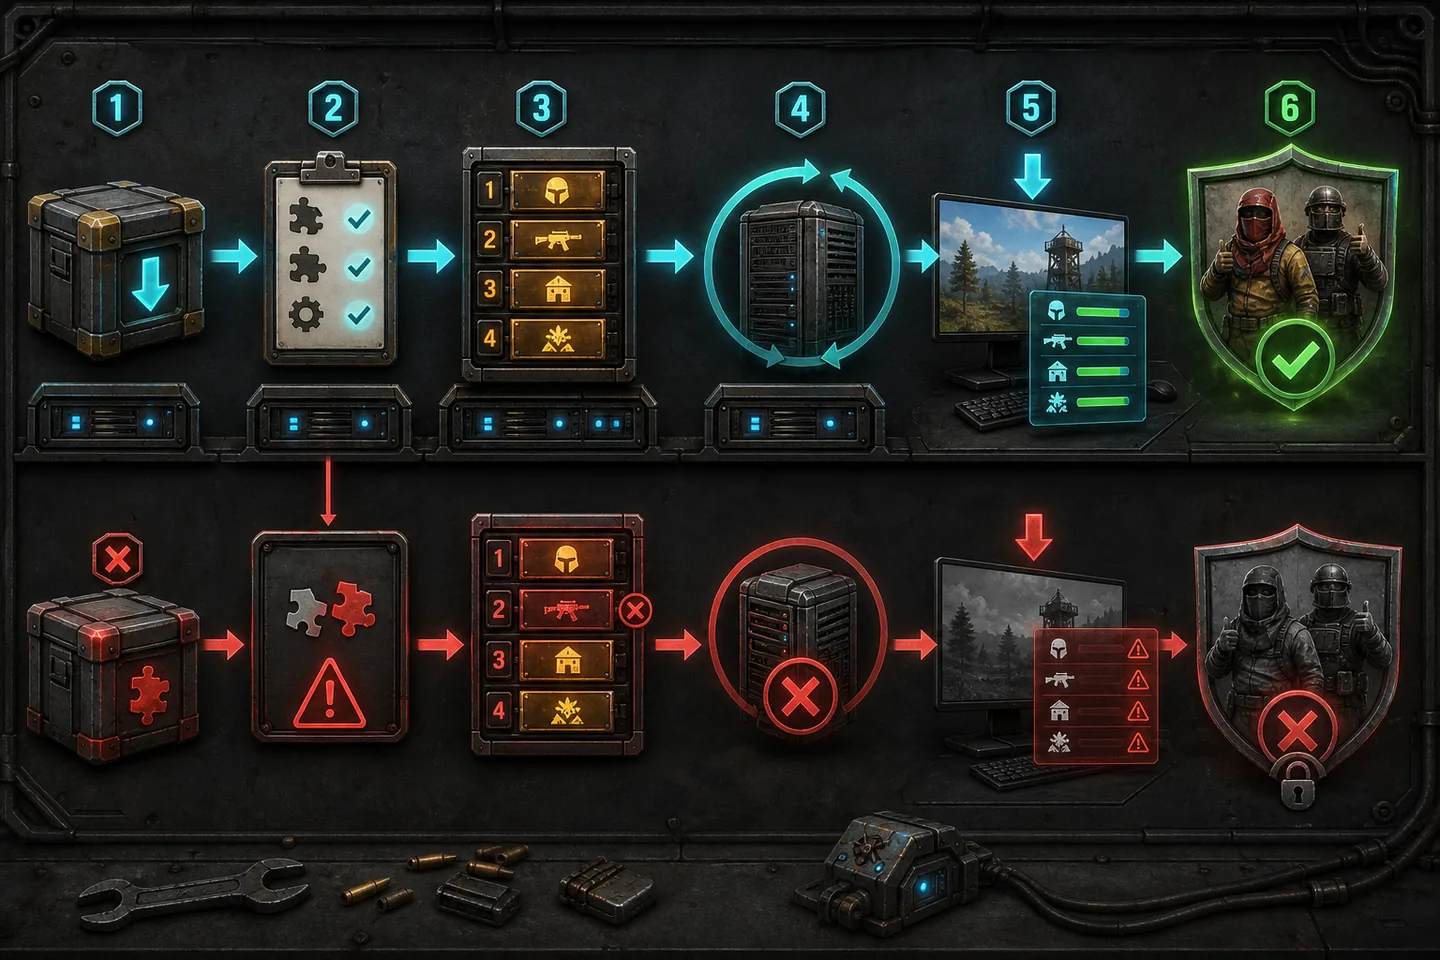
3. Add IDs and preserve an intentional order
ASA dedicated servers can receive a comma-separated list of mod IDs through the supported mods launch argument. Hosting panels may provide a visual field that writes the same value. Use numeric IDs without names or extra spaces, and keep the order documented. Do not combine an ASA method with an obsolete ASE ActiveMods tutorial unless the current hosting environment explicitly requires its own representation.
Place required frameworks or dependencies where their authors instruct. For unrelated projects, use a stable order and avoid moving existing entries simply to make the list look tidy. Some systems resolve overlapping changes according to load order, so an unnecessary reorder can change behavior even when no project was added or removed. Save the final command in the server's change log.
ArkAscendedServer.exe TheIsland_WP?SessionName=MyModdedServer -mods=PROJECT_ID_1,PROJECT_ID_2,PROJECT_ID_3 -port=7777 -log
4. Watch the first start and join process
The first start may take longer while packages are obtained and prepared. Do not repeatedly close the process because the browser does not show the name immediately. Watch logs for a specific failed project, missing dependency or map error. Confirm the expected world loads before asking every player to download the list. If one addition fails, restore the previous list and investigate that project rather than adding more changes on top.
Join using a normal player account and verify that required downloads complete, the correct map opens and representative mod items or creatures work. Then save, stop and restart. A setup that works only until the first restart is not ready for production. Check console platforms separately when the server promises crossplay, because a successful PC join does not prove console availability.
5. Handle mod updates as maintenance
A project update can change assets, configuration or save behavior. Schedule mod updates with the same save, stop, backup and verification routine used for a base-game update. Avoid replacing packages while the world process is running. Keep enough free disk space for downloads and temporary files, and preserve logs when an automatic updater fails rather than starting a partial state.
If the server updates before clients receive a compatible package, players may temporarily fail to join. Communicate the maintenance window and distinguish a distribution delay from a server crash. For a large public community, test major mod releases on a copy and wait for the author’s migration notes before changing production. Convenience automation should stop on failure, not loop indefinitely through restarts.
6. Remove a mod only after understanding its save impact
Removing a content mod can delete structures, creatures or items that depend on it when the save loads without those definitions. Back up first and read the author’s removal or migration instructions. Ask players to empty special storage or convert objects when a supported path exists. Never experiment on the only production save to discover what disappears.
Test the removal on a copy, inspect several bases and restart it again. Keep the last world that still contains the mod and the matching package set until the new save is accepted. If essential data vanishes, restore the complete pre-removal state rather than repeatedly loading the damaged copy. A shorter, stable mod list is more valuable than an impressive list that cannot be maintained.
Common questions
Frequently asked questions
Do ASA mods use Steam Workshop IDs?
No. ASA mods are distributed through CurseForge. Use the numeric ASA project IDs supported by the server or hosting panel.
Does mod order matter?
It can matter for dependencies and overlapping changes. Follow author instructions and avoid reordering an established list without testing.
Can I remove a structure mod safely?
Assume its placed objects may disappear. Preserve a backup and test the documented removal process on a copy of the world first.